Setting Up Google Analytics for Your Restaurant Website
Setting Up Google Analytics for Your Restaurant Website: A Step-by-Step Guide
(Plus How eProfitify Can Amplify Your Results)
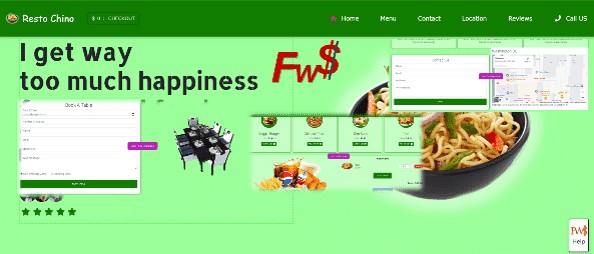
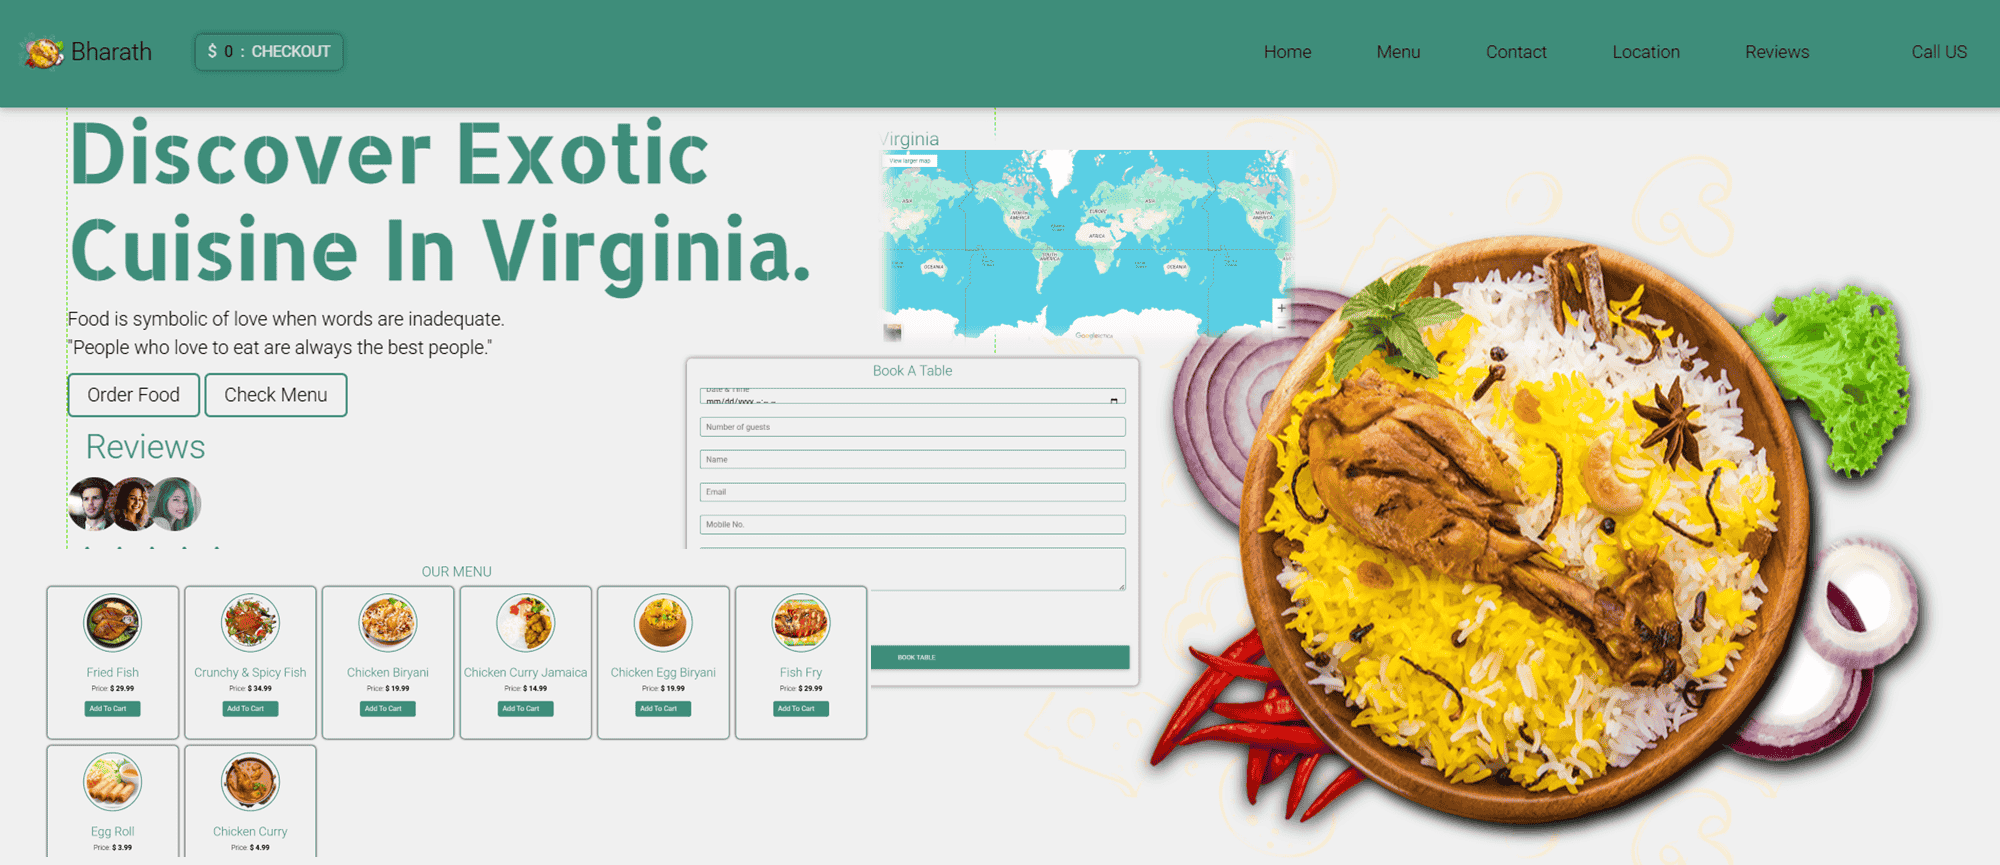
Running a successful restaurant today isn’t just about serving great food—it’s about understanding your customers, optimizing your online presence, and leveraging data to drive decisions. With 74% of diners visiting a restaurant’s website before dining (National Restaurant Association, 2023), your website acts as a digital storefront. To maximize its impact, tools like Google Analytics (GA) and eProfitify (a leading website management platform) can help you track performance, improve conversions, and streamline operations.
In this guide, you’ll learn how to set up Google Analytics for your restaurant website, interpret key metrics, and integrate eProfitify’s powerful tools—like instant messaging, CRM, and ecommerce—to elevate your business.
Why Google Analytics Matters for Restaurants
Before diving into setup, let’s look at why GA is essential:
- 61% of restaurant website visitors browse menus online before visiting.
- 45% of diners place orders via websites or apps (Toast, 2023).
- Mobile users account for 60% of restaurant website traffic (Statista, 2023), making responsive design critical.
Google Analytics provides insights into user behavior, traffic sources, and conversion rates, helping you optimize for better engagement and sales. Let’s get started.
Step 1: Create a Google Analytics Account
- Sign up for GA4: Visit analytics.google.com and create a free account. GA4 is the latest version, offering advanced tracking and machine learning insights.
- Set Up a Property: Name your property (e.g., “Restaurant XYZ Website”) and enter your website URL.
- Configure Data Sharing Settings: Adjust permissions based on your preferences.
Step 2: Install the Tracking Code
After creating your property, GA generates a unique Tracking ID and JavaScript snippet. Install this code on every page of your website:
- Manual Installation: Add the code to your site’s
<head>section via HTML. - CMS Plugins: If using WordPress, Shopify, or Squarespace, plugins like “MonsterInsights” or “Google Analytics by Yoast” simplify installation.
- Verify Setup: Check GA’s “Realtime” report to confirm data is flowing.
Step 3: Define Key Goals and Events
Goals track specific actions users take on your site. For restaurants, focus on:
- Reservation Requests: Track form submissions or clicks on your booking system.
- Online Orders: Monitor purchases via ecommerce integrations.
- Newsletter Signups: Measure marketing engagement.
Events allow deeper tracking (e.g., button clicks, video views, menu downloads). For example, track how many users click your “Order Online” button or view your menu PDF.
Step 4: Analyze Critical Metrics
Once GA is live, monitor these metrics:
- Traffic Sources: Identify where visitors come from (e.g., 30% from social media, 50% from Google searches).
- User Behavior: See which pages have high bounce rates (e.g., if your menu page loses 70% of visitors, redesign it).
- Conversion Rates: Measure goal completions (e.g., only 5% of visitors book a table—optimize your CTA).
- Mobile Performance: Ensure mobile users (60% of traffic) have seamless experiences.
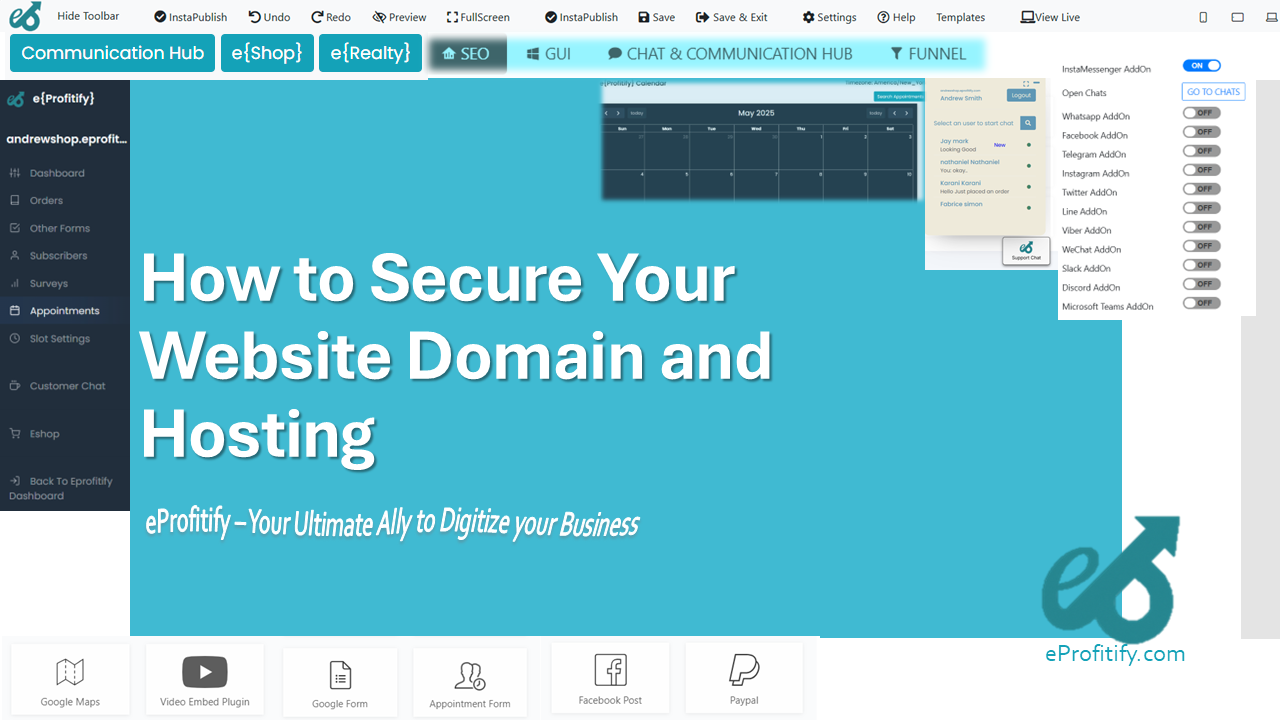
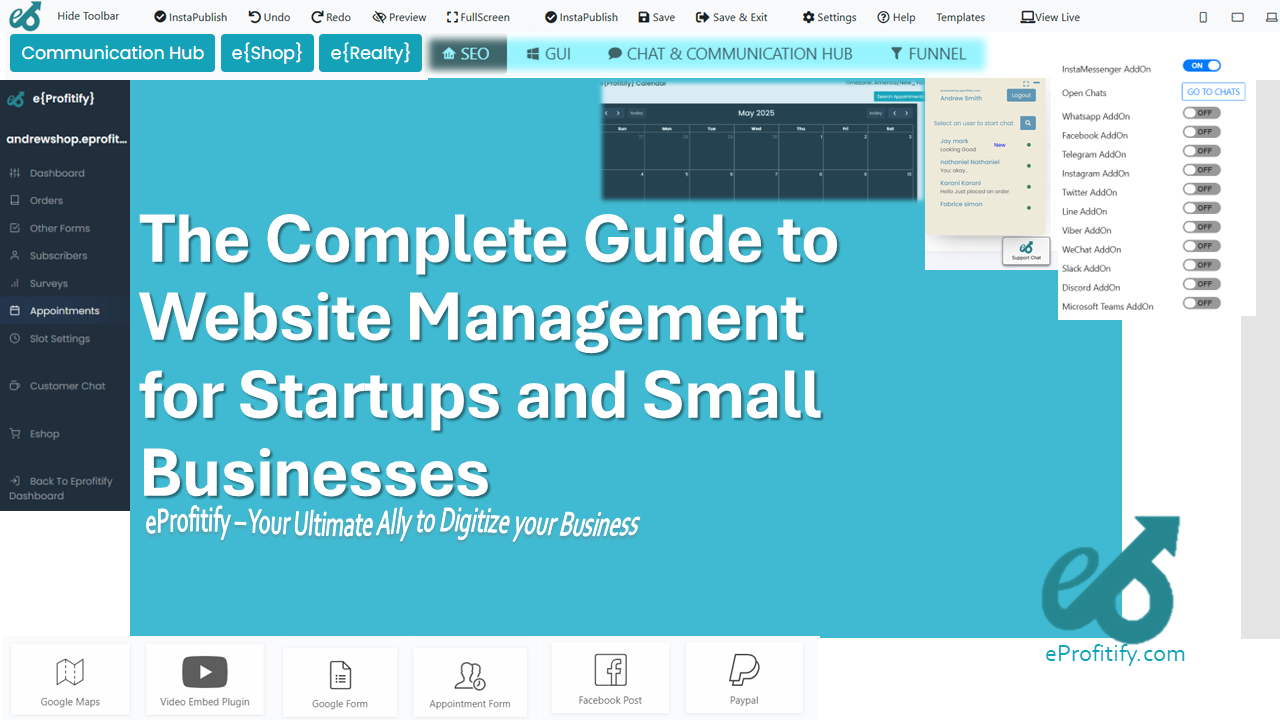
How eProfitify Enhances Your Analytics Strategy
While Google Analytics provides data, eProfitify helps you act on it. Known for its all-in-one website and customer management tools, eProfitify complements GA with:
1. Instant Messaging for Real-Time Engagement
- Problem: 52% of customers expect a response within 30 minutes on social media (HubSpot, 2023).
- Solution: eProfitify’s live chat and SMS tools let you engage visitors instantly. For example, if GA shows high traffic from mobile users, deploy a chat widget to answer FAQs about reservations or dietary preferences.
2. Appointment Management System
- Problem: Manual bookings lead to errors and no-shows.
- Solution: Sync eProfitify’s booking system with GA to track reservation conversions. Use GA data to identify peak booking times and adjust staff schedules.
3. Integrated Ecommerce & CRM
- Problem: Online orders contribute 20–30% of revenue for modern restaurants (Uber Eats, 2023).
- Solution: Use eProfitify’s ecommerce tools to track orders and link them to GA’s sales data. The built-in CRM segments customers for personalized email campaigns, retargeting loyal diners (repeat customers spend 67% more).
4. Marketing Automation
Turn GA insights into action:
- If GA shows traffic spikes from Instagram, use eProfitify to automate social promotions.
- Send birthday discounts to customers identified via CRM.
Data-Backed Results for Restaurants
Combining GA with eProfitify delivers measurable outcomes:
- Restaurants using analytics tools see 25% higher repeat customer rates (Restaurant Business, 2022).
- Websites with live chat report 25–35% increases in conversions (Forbes, 2023).
- Mobile-optimized ordering systems reduce bounce rates by up to 50%.
Getting Started with eProfitify
- Sign Up: Visit eprofitify.com and choose a plan.
- Integrate with GA: Connect your account to share data between platforms.
- Activate Features: Enable CRM, live chat, and online ordering.
Final Thoughts
Setting up Google Analytics is a game-changer for understanding your restaurant’s digital performance. By pairing it with eProfitify, you gain a unified platform to manage bookings, boost online sales, and build customer loyalty. In an industry where margins are slim and competition is fierce, data-driven decisions are the key to staying ahead.
Take action today: Install GA, explore eProfitify’s tools, and watch your restaurant thrive online!